How to Disassemble Office Cubicle Walls: A Step-by-Step Guide
Office cubicle systems are designed to provide flexibility and customisation in setting up working spaces but taking them apart can be anything but simple. Thanks to a lack of standardisation in the industry, the connections often differ, and the layperson may not even realise what tools they will need until they’ve already started. To help the process, we’ve put together a checklist on how to disassemble office cubicle walls.
Step 1: Alert Staff and Remove Company Equipment
While it may seem obvious, anything that employees leave behind has to be organised and accounted for when disassembling office cubicle walls and the related equipment. You’ll want to make sure that everything is organized, ideally by the employee, from personal items like photos to computers and peripherals, before you get started.
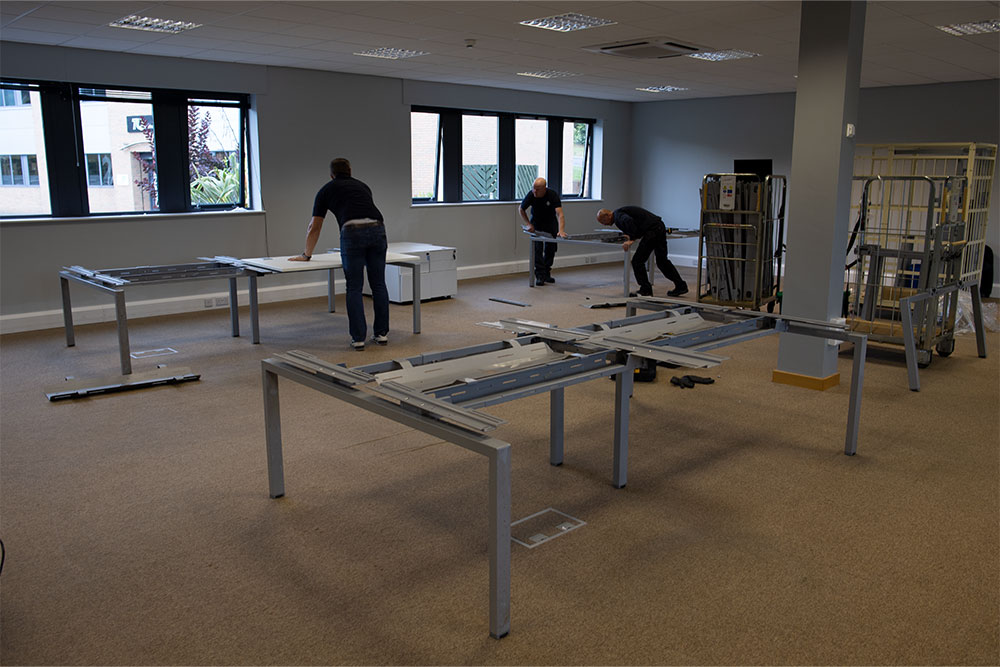
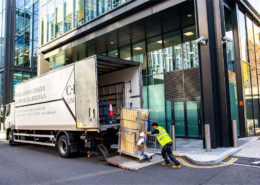
Step 2: Remove Furniture, Wiring, and Accessory Shelving
The next step is to try and get as close to the cubicle walls as possible. Wires are easy to trip over, and any damage could lead to major malfunctions for an entire office building. In a similar vein, it’s impossible to try and disassemble cubicles when there are still built-in desks, overhead cabinets, and other furniture.
Step 3: Gather Your Tools and Identify the Connecting Mechanism
There is a bit of guesswork involved if you aren’t completely sure how your walls fit together. To make sure you’re prepared, have a tool kit (and a second person!) ready. Standard tools include a flathead screwdriver, Phillips screwdriver, adjustable wrench, mallet or rubber hammer, and a ladder.
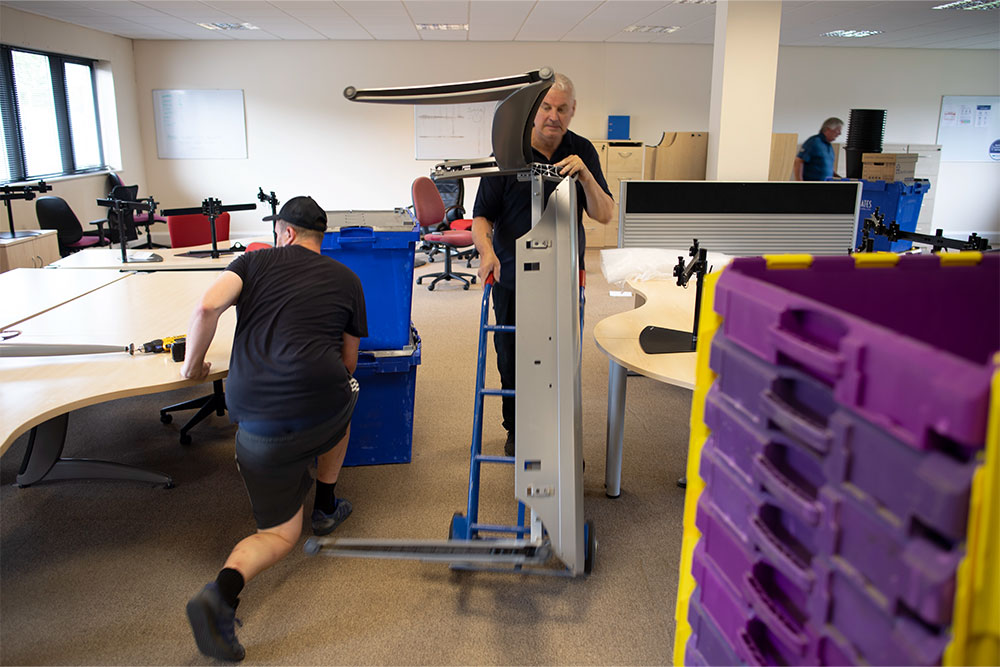
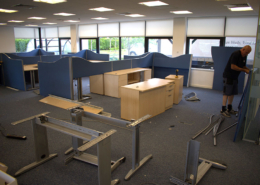
Step 4: Plan Where You Will Stack First
One of the most surprising things about commercial office space is how cluttered it can become once cubicle walls come down. That’s relatively important because when a company is looking to break down and relocate, knowing where to stow dozens of panels is lost in the shuffle of planning.
That can be very dangerous. Even if you have a second person to help you carry the panels, you’ll need somewhere that you can stow them as you move throughout the office. Remember that you should not be using other cubicle walls, and vertical columns may not provide enough support.
Step 5: Moving Forward With Disassembly
Cubicle walls have nearly as many types of connections as there are companies that make them. Common methods of attaching panels include:
- Screws
- Spring latches
- Rods
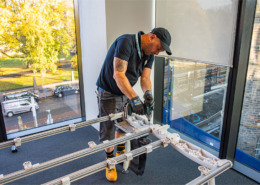
Tip 1: Work Your Way From the Outside Inwards
It’s easiest to disassemble office cubicle walls by starting from the outside or uncapped ends and then working towards the middle. So once you’ve established whether you have to unscrew, unlatch or remove rods, start with a piece that’s closest to the edge of the space. You may need to use your rubber hammer if the walls have been in place for some time. A partner can help move the panels to the space you selected before beginning.
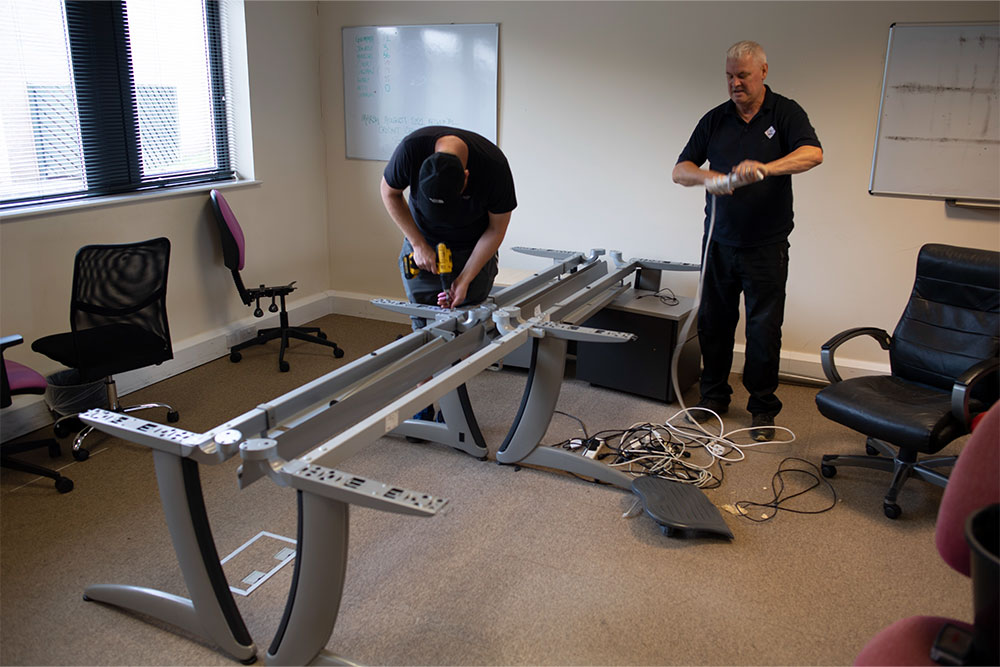
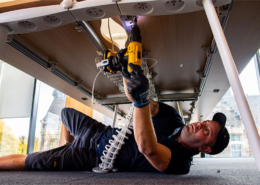
Tip 2: If There Is a Bottom Connection
Another potential issue when you disassemble cubicle walls is a bottom connection and a rail system used to help anchor the walls in place. If there is one, you may need to use the adjustable wrench to loosen the bolts at the bottom. If there is simply a rail system in place, you should be able to wiggle the panel and use the flathead screwdriver to pry it out of place.